Preserving Nature's Art: How to Press Flowers at Home
Embracing the timeless charm of pressed flowers is a delightful way to celebrate nature from the comfort of your home. Not only is this activity easy and safe, but it also provides a beautiful way to preserve memories from your garden or special moments.

Pressing flowers is an enchanting way to capture the ephemeral beauty of nature. It’s a simple process that requires minimal equipment and can be a great activity for all ages.
Materials Needed:
- Fresh flowers and leaves
- Heavy books
- Absorbent paper (blotting, coffee filters, or newspaper)
- Optional: A flower press
Step-by-Step Process:
- Choose Your Specimens: Opt for flowers that are naturally flatter like violets, daisies, or ferns, as they press more easily.
- Prepare the Flowers: Arrange your flowers between two layers of absorbent paper. Make sure there is no overlap to ensure an even press.
- Pressing: Place the layered papers inside a heavy book or a dedicated flower press. Add extra weight on top for a firmer press.
- Drying Time: Leave them to press for 2-4 weeks. Check occasionally to ensure they are drying and not molding.
- Removal: Once fully dried, gently remove the flowers. They should be completely flat and free from moisture.
Creative Projects with Pressed Flowers:
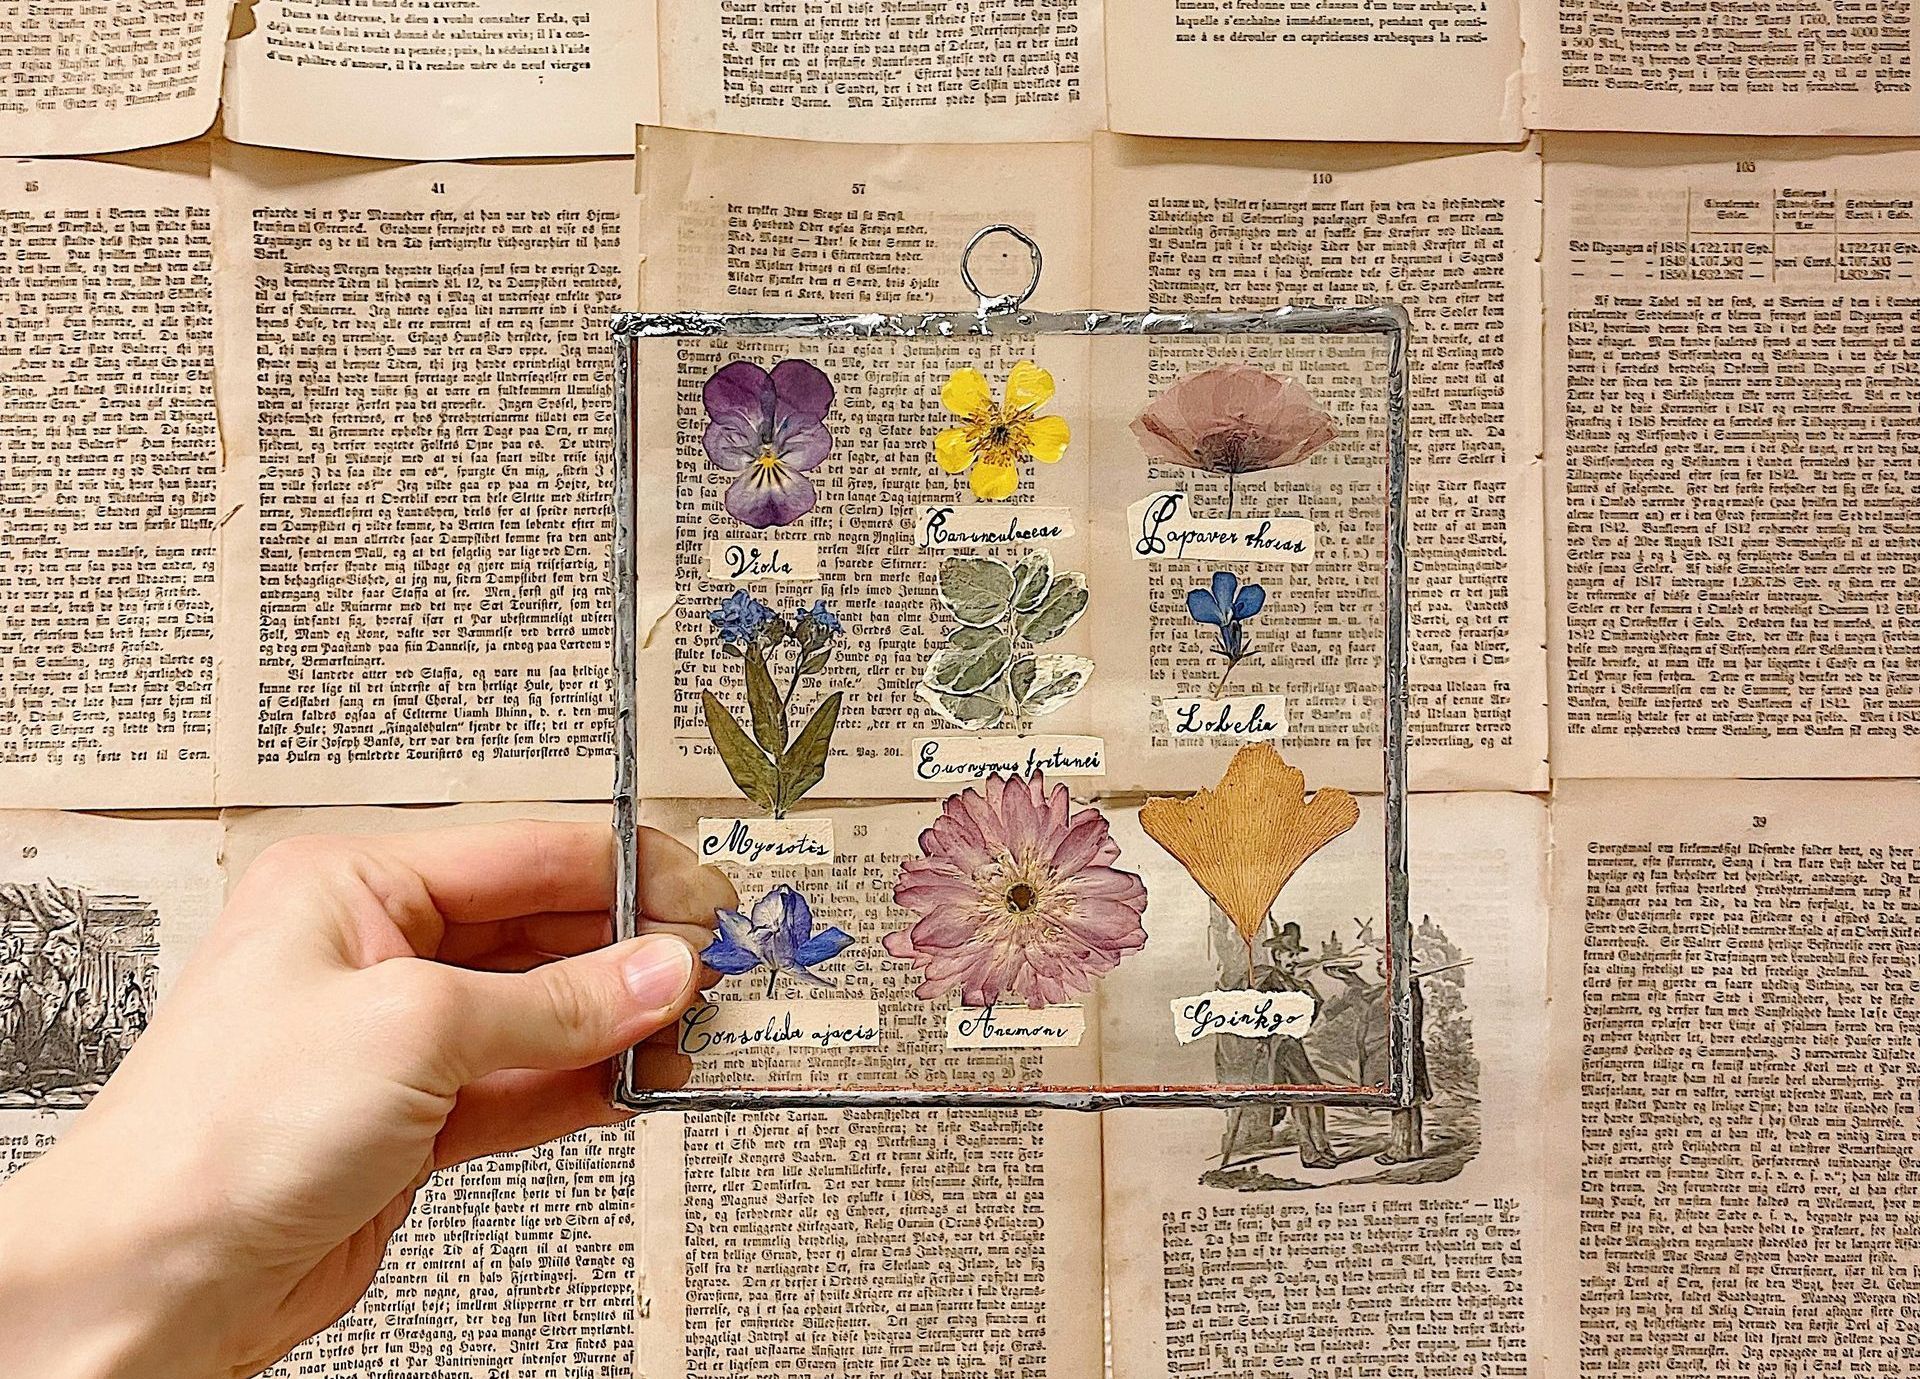
- Decorative Frames: Seal pressed flowers in glass frames for a stunning wall decoration.
- Custom Stationery: Decorate notecards and bookmarks for a personal touch.
- Resin Jewelry: Encapsulate your favorite blooms in resin for wearable art.
- Candle Making: Pressed flowers can be incorporated into homemade candles for a lovely floral touch.
This craft offers a therapeutic way to unwind while creating beautiful, lasting pieces. For more DIY project ideas and tips, be sure to follow our Facebook page, where we share new blog posts weekly. Keep updated and never miss out on new inspirations by visiting Ashby Arts Festival on Facebook. Let your creativity bloom with our community of fellow craft enthusiasts!


