


How to Make Homemade Gingerbread Gift Bags
Millie Rowe • December 9, 2024
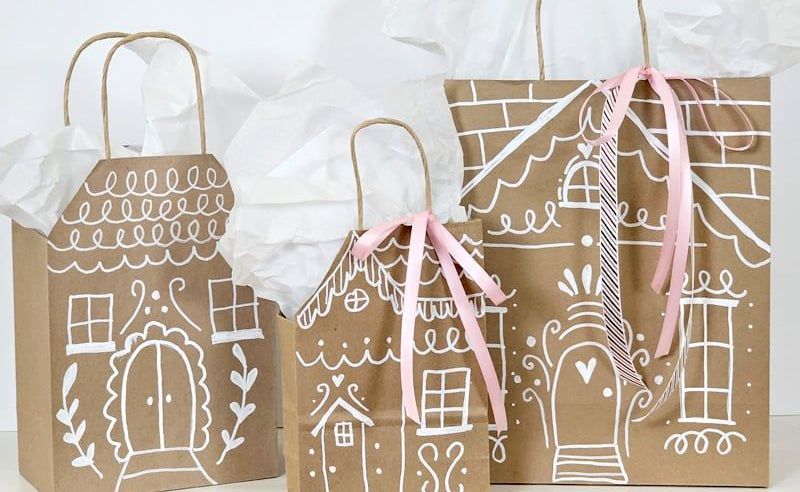
Transform your gift-giving this holiday season with homemade gingerbread gift bags. These delightful bags are not only charming but also a creative way to personalize presents.
Materials Needed:
- Brown craft paper bags
- White, red, and green paint pens
- Scissors
- Ruler
Steps:
- Prepare Your Bag:
- Begin by cutting the corners off the top of your craft paper bags to create a house shape.
- Design Your Gingerbread House:
- Lightly sketch the design of your gingerbread house on the bag, focusing on elements like doors and windows.
- Add Details with Paint Pens:
- Use white paint pens to trace over your sketches. Highlight areas such as the roof, windows, and door to mimic icing. Red and green pens can add additional festive details like wreaths and candy canes.
- You might need to apply a few layers of paint to achieve vibrant colors.
- Enhance with Further Decorations:
Add final touches around the windows and doors, and perhaps border the roof edges for a finished look.
These Gingerbread House Gift Bags are not only fun to make but also add a special touch to your holiday gift-giving. They're perfect for small presents and can even be used as delightful decor around the home.
Now, your gifts will stand out with a personal, crafted touch that's sure to delight. Enjoy crafting and happy holidays!

Revitalize your indoor or garden plants with beautifully painted pots. This simple DIY project is perfect for adding a personal touch to your home décor. Materials Needed: Terracotta pots Acrylic paints Paintbrushes Painter’s tape (for designs) Clear sealant Step-by-Step Guide: Prep Your Pots: Clean your pots thoroughly and let them dry. This ensures the paint adheres properly. Design Your Pots: Use painter’s tape to create geometric designs or freehand with a pencil for floral patterns. Paint: Apply your chosen acrylic paints. For best results, use two coats, letting them dry between applications. Seal the Paint: Once the paint is dry, apply a clear sealant to protect your design from water and wear. Finishing Touches: Remove any painter’s tape and touch up as needed. Conclusion: These DIY painted plant pots are not only fun to make but also make great gifts or stylish additions to any room. Get creative and transform your space today! Enjoy your crafting journey with this eco-friendly project that brightens both your home and your spirits. Happy painting!

DIY Rope Star Mirror
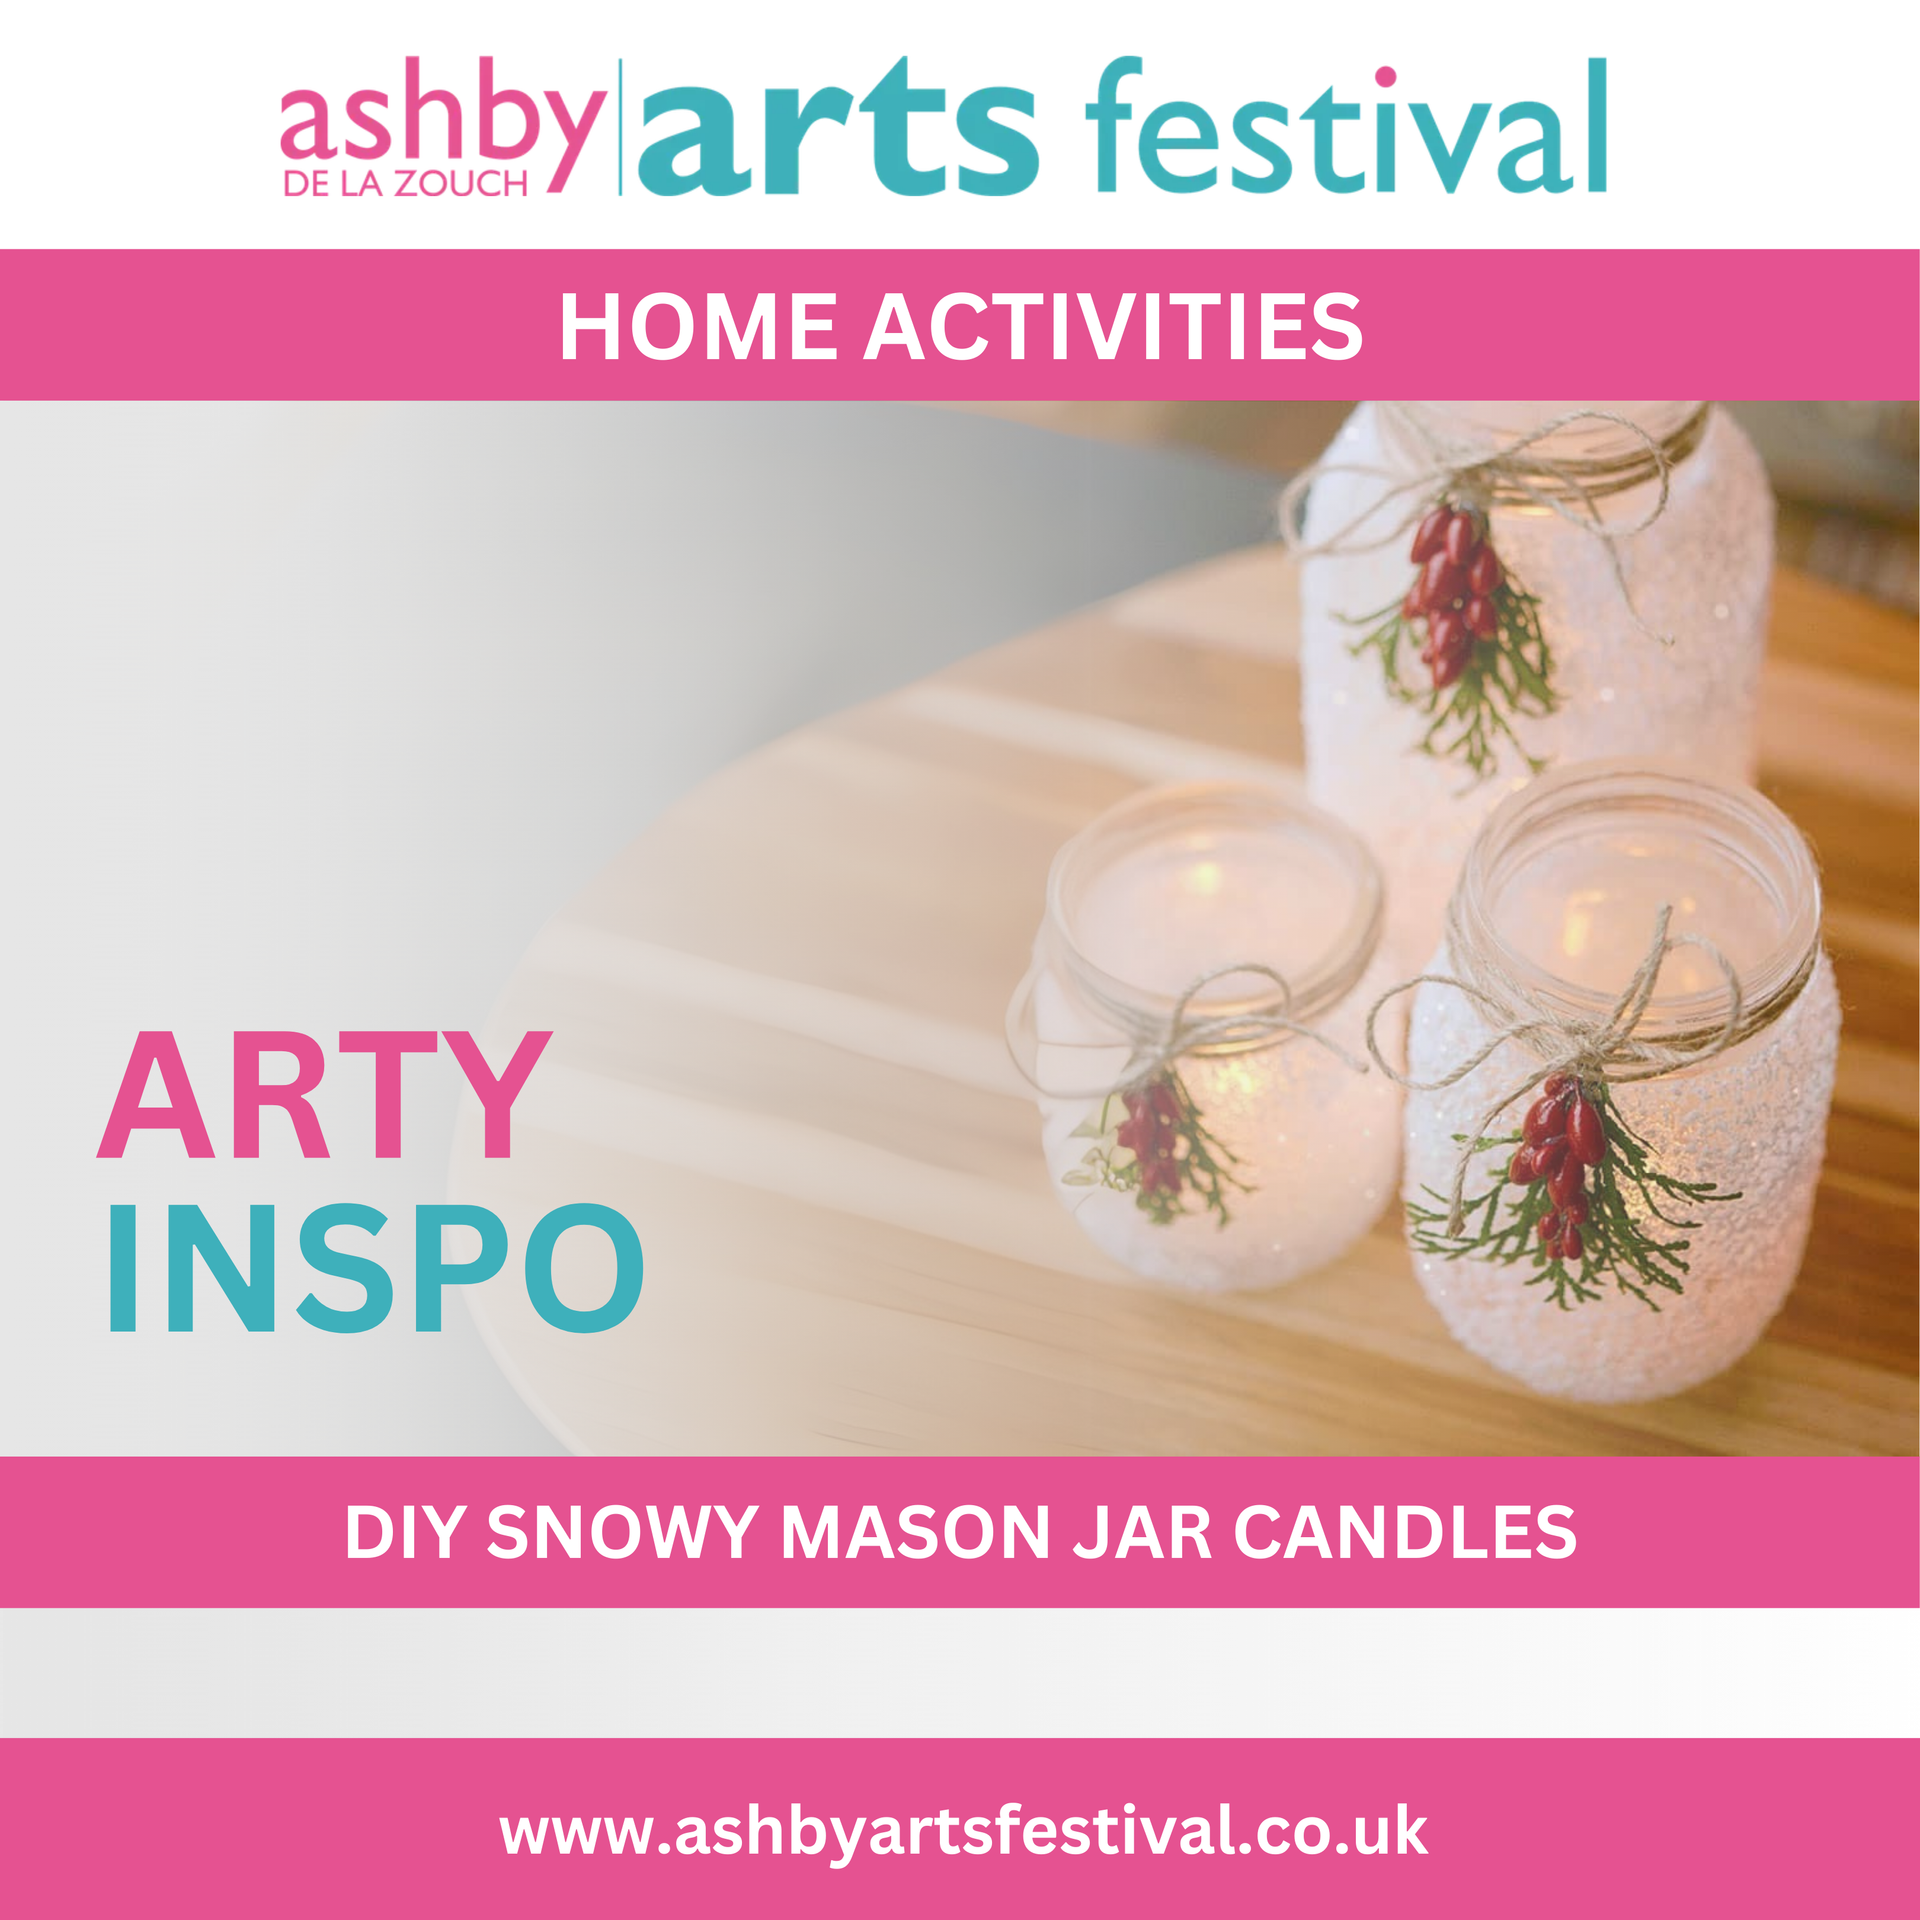
How to Make a Festive Snowy Mason Jar

Brighten up your Christmas tree with a delightful handmade snowman ornament. Here's a simple guide on how to create this festive decoration using everyday materials.
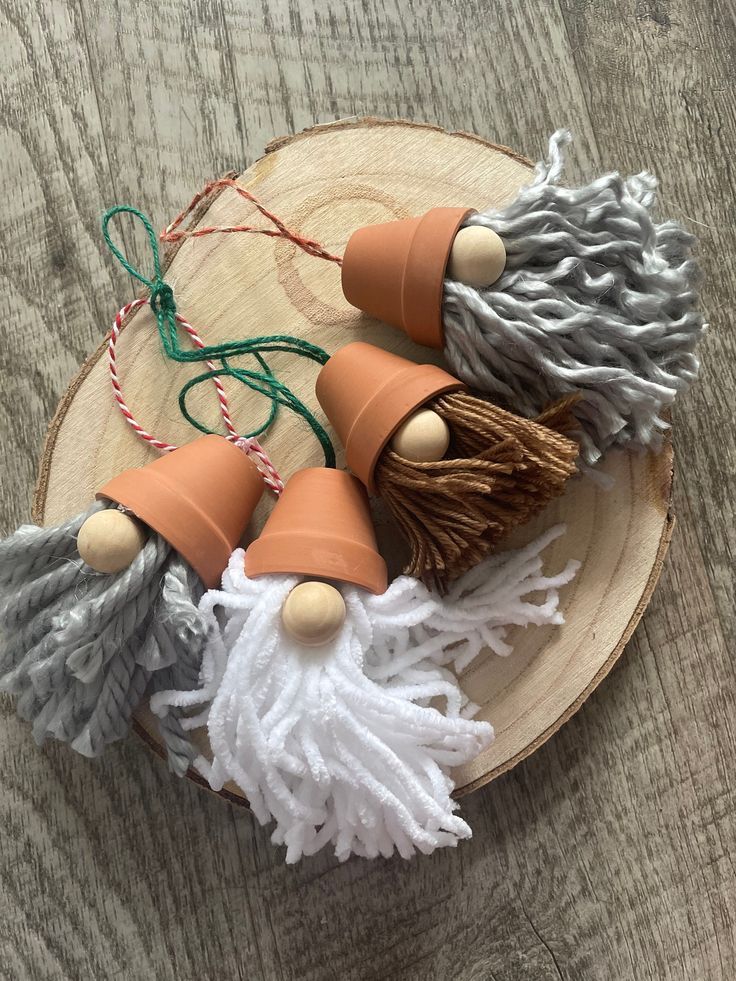
How to Make Charming Yarn Gnomes with Terracotta Pot Hats

As the chill of November sets in, the UK gears up for the dazzling displays of Bonfire Night. Amidst the excitement of fireworks and festivities, why not bring some of that sparkle indoors with a fun and festive art project? Creating your own firework art is not only a great way to engage with the spirit of Guy Fawkes Night, but it also provides a creative outlet that’s perfect for artists of all ages. Materials You’ll Need: Dark construction paper (black or navy blue works best) Glitter in multiple colors White paint A variety of paintbrushes Plastic forks Glue Step-by-Step Guide: Set Up Your Canvas: Begin with your dark paper as the background to mimic the night sky. Lay it flat on a protected surface to prepare for painting. Painting the Fireworks: Dip your brush in white paint and splatter or place dots on the paper to act as the explosive center of each firework. These dots are where your fireworks will burst from. Creating the Sparkle: While the paint is still wet, take a plastic fork and gently pull the paint out from the center dot outward, mimicking the rays of fireworks spreading. You can vary the direction and length of your strokes to create different firework shapes. Adding Color and Shine: Immediately sprinkle your choice of colored glitter over the wet paint. This is where you can get creative—mix colors, add layers, or create patterns. Each choice of glitter adds a unique burst of color, just like real fireworks. Drying: Allow your masterpiece to fully dry. This might take a few hours, but it ensures all your sparkles and designs set in place. Finishing Touches and Display: Once dry, your Bonfire Night art is ready to be displayed. You can frame it, hang it up, or use it as a backdrop for a Bonfire Night-themed party. This project not only captures the explosive joy of fireworks but also provides a fantastic opportunity to discuss the history and significance of Bonfire Night with children. It’s a perfect blend of education, creativity, and festivity—embodying the warmth and spirit of this beloved UK holiday. So grab your brushes and let your creativity burst forth like the grandest firework finale!
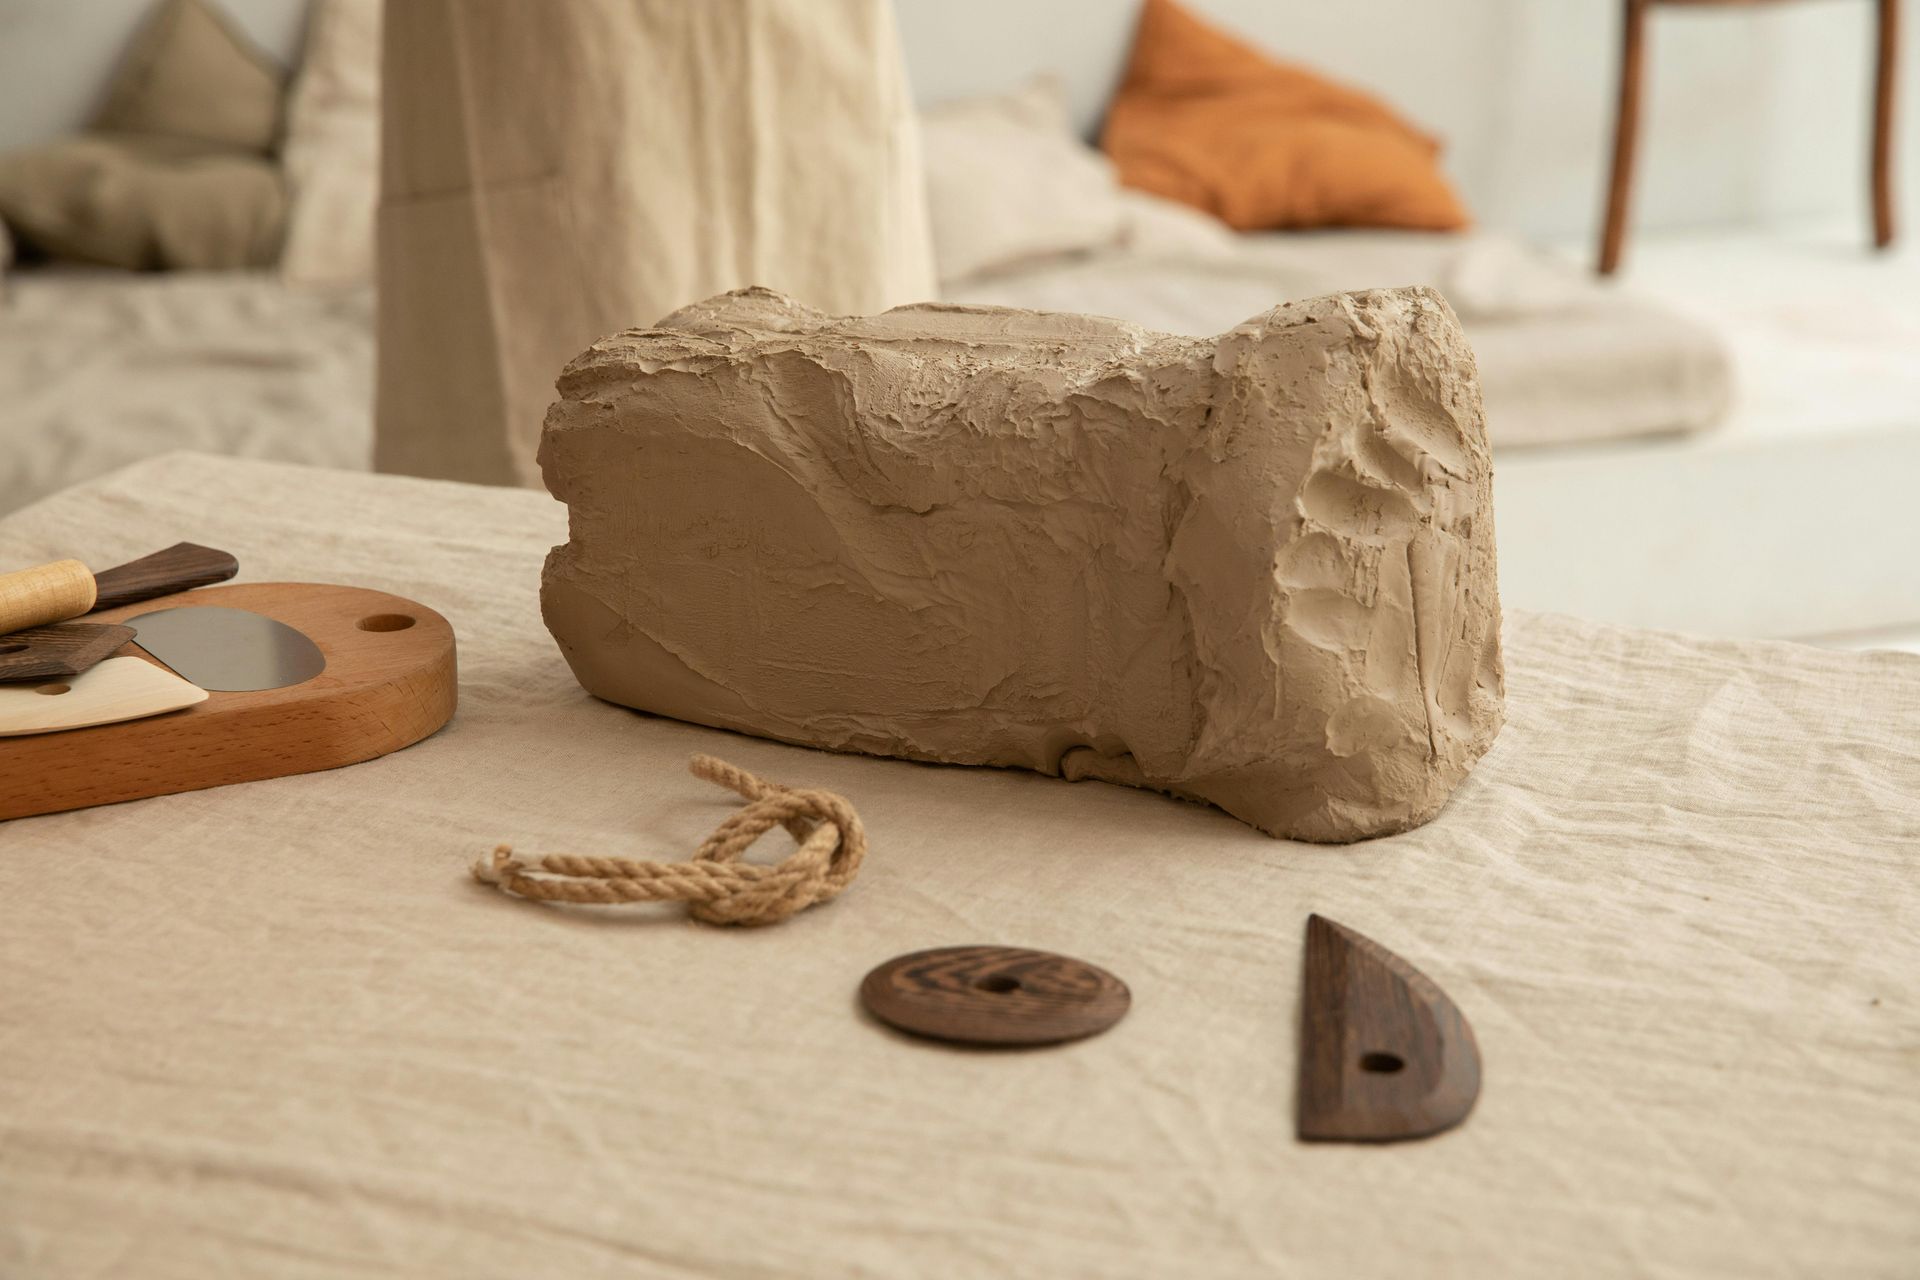
How to Make Spooky Clay Ghost Tealight Covers with Foil
Halloween Decor with Toilet Paper Rolls and Hot Glue

Embracing the timeless charm of pressed flowers is a delightful way to celebrate nature from the comfort of your home. Not only is this activity easy and safe, but it also provides a beautiful way to preserve memories from your garden or special moments.
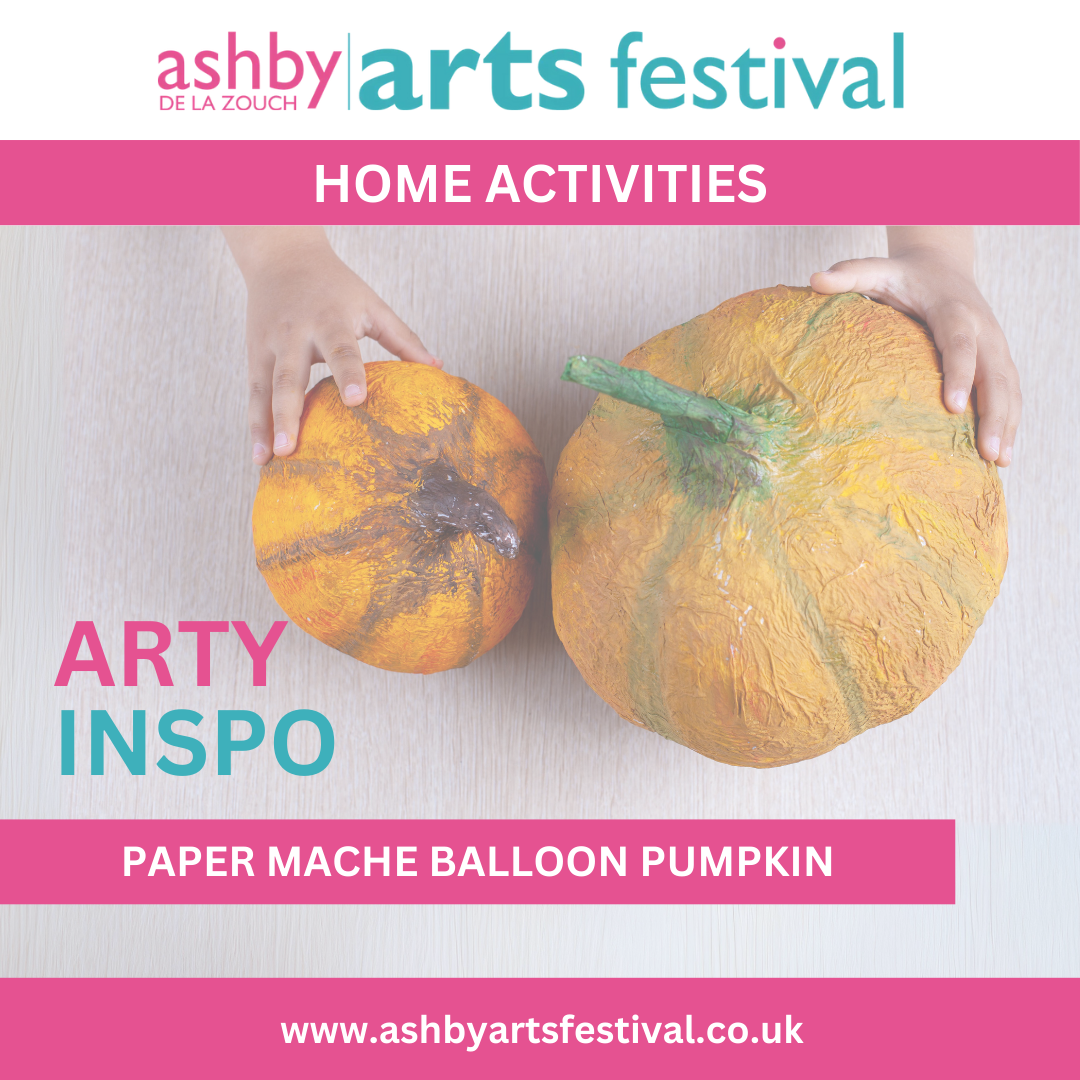
As the leaves turn and the air grows crisp, autumn heralds a time of vibrant colors and cozy activities. What better way to welcome the season than by engaging in a fun and family-friendly craft that not only celebrates the essence of fall but also adds a touch of personal flair to your seasonal decor?
